Are you tired of seeing the same Instagram filters on your feed? Have you ever wanted to make your unique filters? Well, now you can!
Recently, it has become a popular trend to create Instagram filters among social media enthusiasts.
With free tools, designing personalized filters for different purposes has become more accessible.
In this blog post, we’ll look at how users in 2024 create their own custom Instagram filters using free tools.
I. Understanding Instagram filters and their types
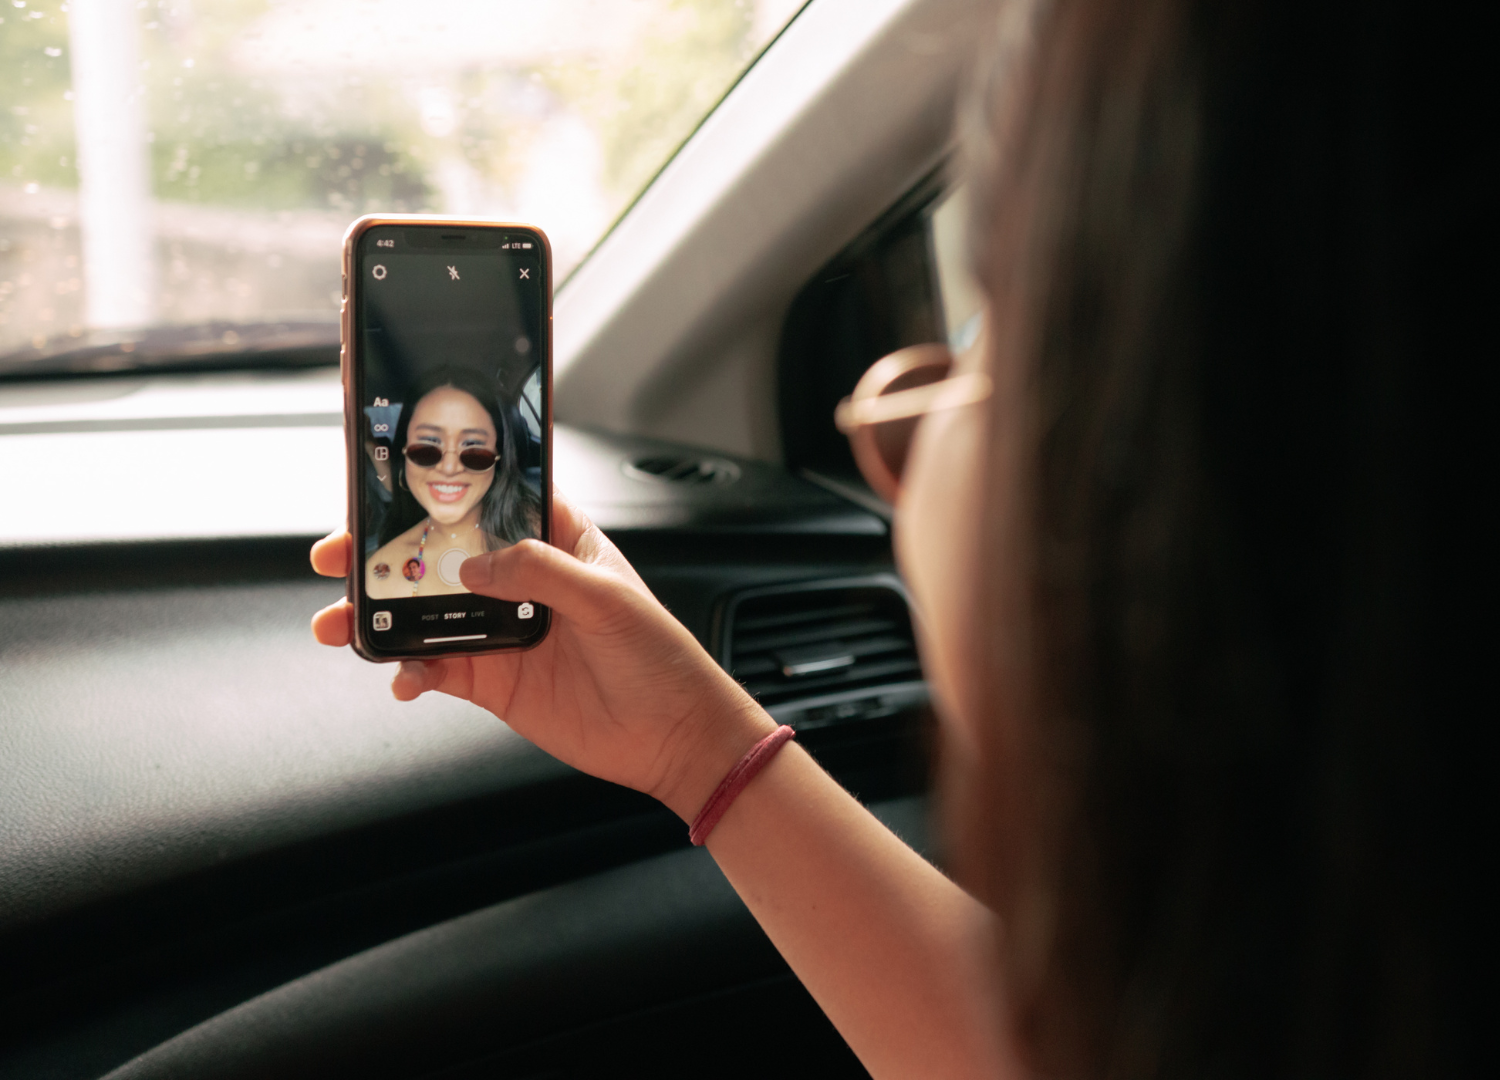
Instagram filters are digital effects applied to a photo or video to enhance appearance. Some popular filters include Clarendon, Juno, Lark, and Ludwig. Personalized filters can add a unique touch to your posts and stories.
These filters can promote a brand, showcase a product, or just for fun.
Post aesthetically pleasing content to stand out against this intense crowd, which is where Instagram filters come into the picture. Some of the most popular filters on Instagram are;
- Clarendon
- Juno
- Lark
- Ludwig
- Retro cam
- Caramel Latte, etc.
The filters are available to every Instagram user, and if you also use the same ones, your content will look like the others.
It is highly recommended to create your unique filter and make it fit your unique and eye-catching theme.
It will not only make your Instagram Reels content look fresh, but it will also help users recognize and follow your page for unique content as well.
Pro-tip; Create a custom filter and use it for all your Instagram posts. It will help you create an easily recognizable theme and make creative Instagram posts!
2. Choosing the right tool for creating Instagram filters
Creating a custom Instagram filter is undoubtedly vital in today’s world. However, choosing the right tool to create your filter is equally important. There are several free tools available for creating Instagram filters.
Some of the most popular ones include Spark AR Studio, Lens Studio, and Canva.
Spark AR Studio
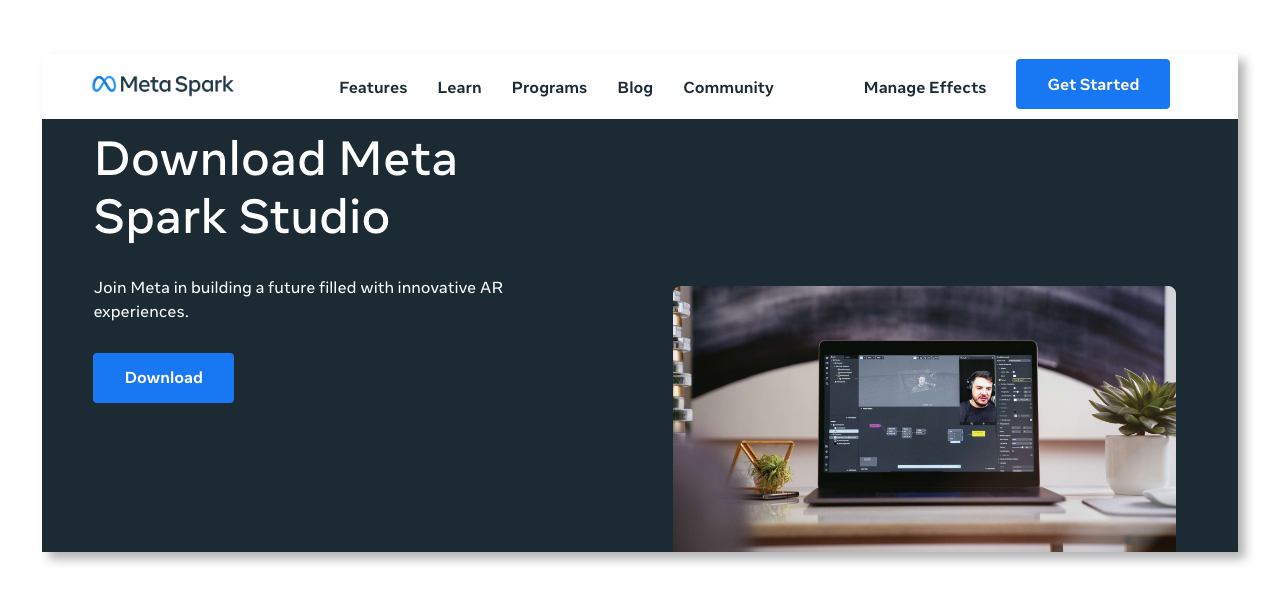
Spark AR Studio is one of the top software tools developed by Facebook that allows creators to design and publish augmented reality (AR) effects, similar to the Green Screen effect, for Instagram and Facebook.
With Spark AR Studio, users can create filters, masks, and other interactive experiences that respond to real-world movements and inputs, creating engaging and unique user experiences.
The free software offers a range of features and tools that allow creators to design and test AR effects quickly and easily.
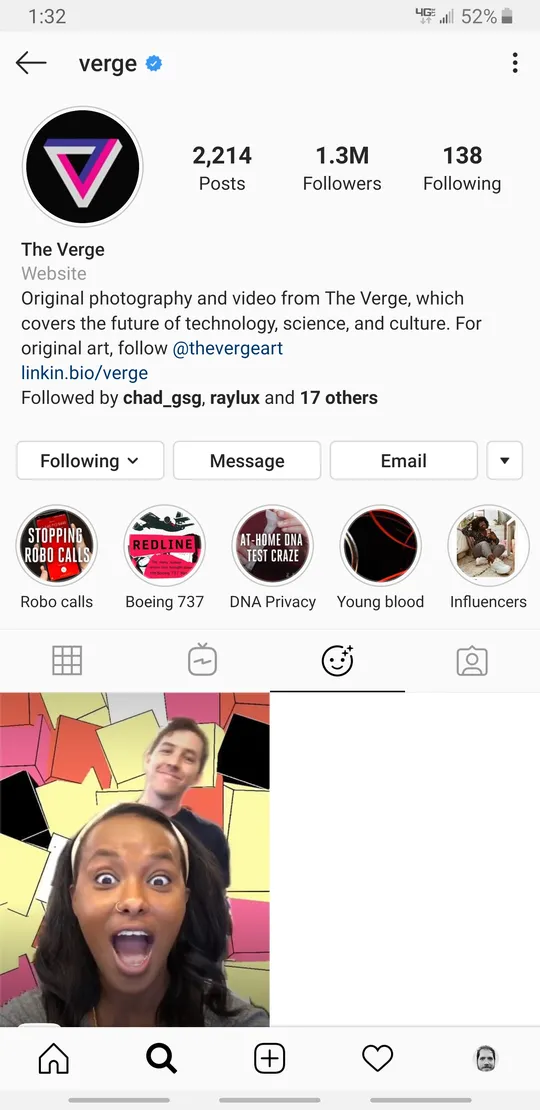
Here is how Verge made its own custom Instagram filter using Spark;
Lens Studio
Lens Studio is a free software tool developed by Snapchat that allows creators to design and publish augmented reality (AR) experiences for the Snapchat app.
With Lens Studio, users can create filters, lenses, and other interactive experiences that respond to real-world movements and inputs, creating engaging and unique user experiences.
The software is available for both Windows and Mac and offers a range of features and tools that allow creators to design and test AR effects quickly and easily.
The platform also offers a variety of resources and tutorials to help creators get started and develop their skills, making it an excellent choice for both beginners and experienced AR developers.
Canva
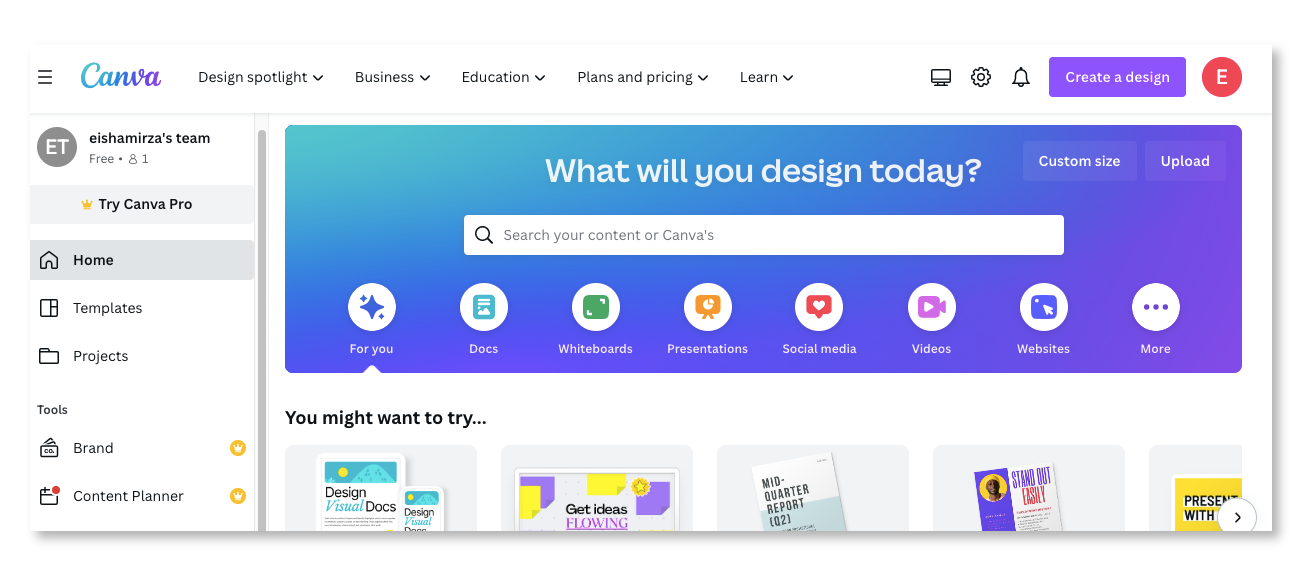
This popular graphic design tool allows you to create various designs, including Instagram filters.
It’s an excellent option for beginners who want to create simple filters without the need for 3D modeling or animation.
PhotoRetrica
PhotoRetrica is a free website to use for creating Instagram filters. This app can easily edit pictures, create collages, apply significant social medium effects and templates, alter image formats, make GIFs, and more.
In addition, this website offers multiple aesthetically pleasing filters to add to your photos and make them unique on Instagram.
3. Designing Instagram filters
Undoubtedly, many options are available, but the best one to create Instagram filters is Spark AR Studio. It is a full-featured app that helps you easily create Instagram filters by offering many incredible options.
So to help you create your custom filter in a hassle-free way, here is a step-by-step guide using Spark AR Studio and Lens Studio;
a) Designing Your Filter with Spark AR Studio
Here are the steps that you need to follow;
Step #1: Download the latest version
First, you must download and install the latest version of Spark AR Studio on your computer. It is available for both Mac and Windows.
Step #2: Explore the starter projects
Once Spark studio is installed entirely on your device, start exploring the starter projects. You can find the best one according to your requirements or preferences.
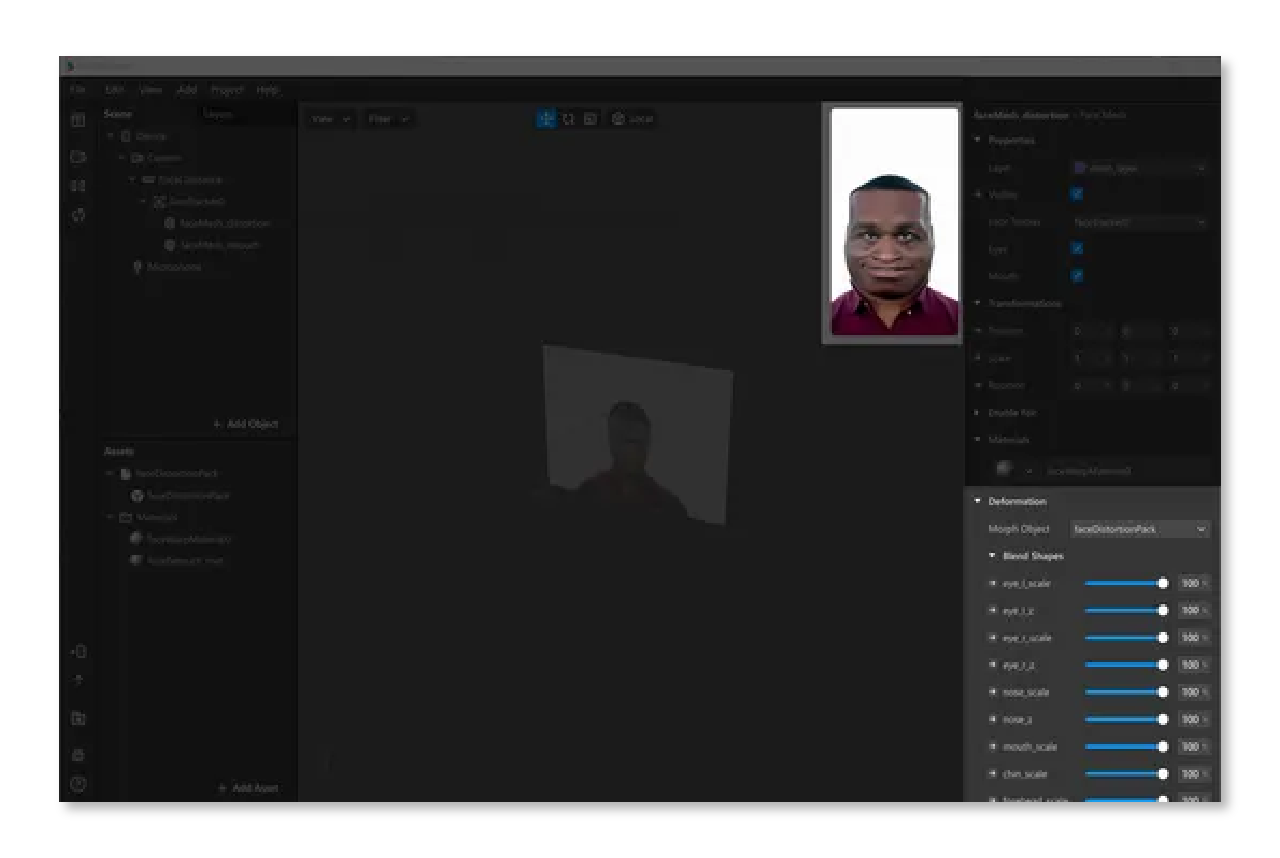
Step #3: Go to the samples tab and choose face distortion
Once you are ready to start a sample project, tap on the “Samples tab” and select the “Face Distortion” option. Then save your project.
Step #4: Make changes to your filter
To modify your filter, click on the left side of the “Scene” tab, then locate and choose “faceMesh_distortion.” Here you can play around with the many options.
E.g., Find “Deformation” and expand the window. Then, adjust the facial distortion by tweaking any slider under the “Blend Shapes” option.
Step #5: Use the filter on your visual
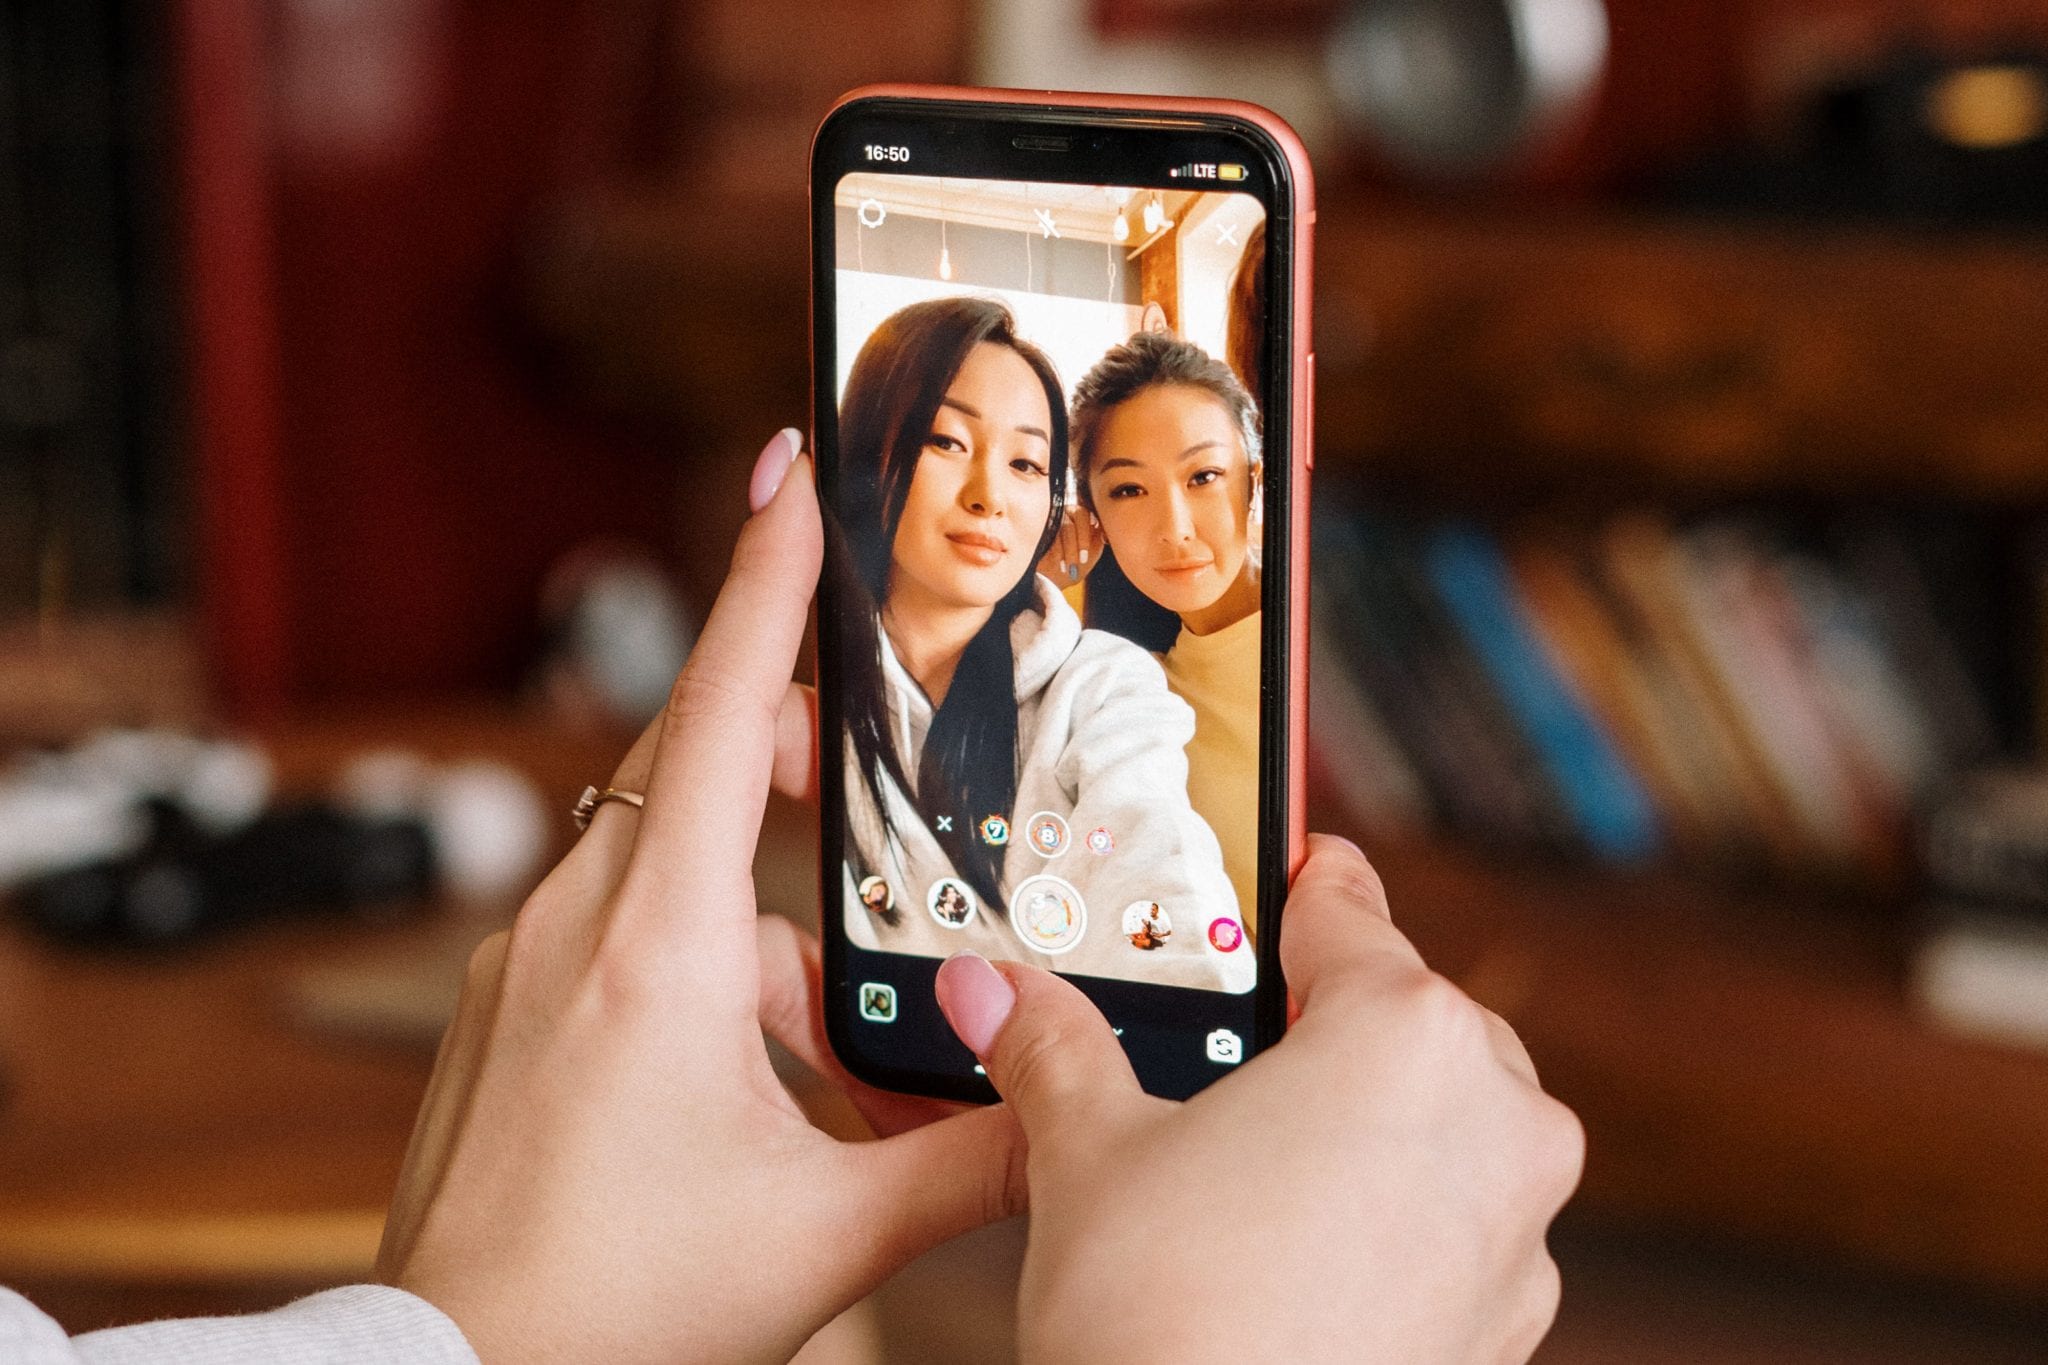
Now try using the sample filter on your picture via your webcam to see how it will look in real-time. To do this, click on the camera icon.
Here you can choose one from the selection of faces presented. The other option is to use the webcam attached to your computer.
You will catch a button for it just above the faces presented. Select it for a live preview of the filter.
Step #6: Export the filter
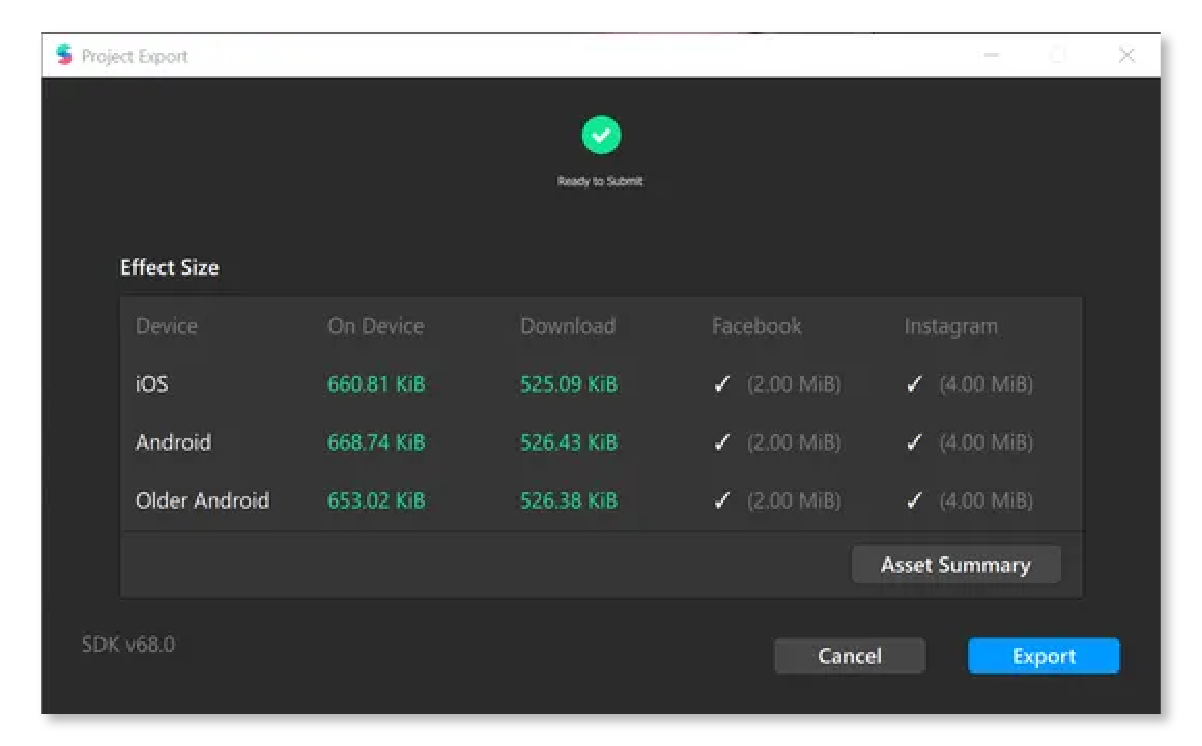
Once you are happy with the preview of your newly made custom filter, export the final file. For that, select the “Export” option from the file menu. Then a window will show up.
Here you will be able to see the space that your filter will use on different devices. If everything is checked and green, click “Export.”
Step #7: Select a save location
Once your file is ready to be exported, select a location on your device to save the file where you can locate it quickly. For example, select “.arexport” as the file type.
Step #8: Publish your filter
Log in to Instagram. Navigate to the Sparkhub login page. You will see an intro screen. Tap “Upload effect.” Next, give your filter a name and tap on “Next.”
Then choose a picture that you want your filter to be represented with from the “Effect” icon. After that, find the exported file in a finder window.
Checkmark all the legal agreements that say you have all the required rights. Tap on “Upload.” Then verify and hit “Continue.” Now your filter is uploaded.
b) Designing Your Filter with Lens Studio
If you choose to use Lens Studio, you can create face masks, filters, and lenses by following these steps:
- First, download Lens Studio and create a new project.
- Then, use the lens editor to create your filter logic and effects.
- Next, preview your filter in the simulator to see how it looks on a mobile device.
- Next, test your filter on different devices and platforms to ensure compatibility.
- Finally, publish your filter to Instagram and Snapchat.
c) Designing Your Filter with Canva
Canva is a tool that allows you to create static filters. You can create a filter by selecting a filter type, choosing your colors, and adding text, stickers, and shapes.
4. Testing and Publishing Instagram Filters
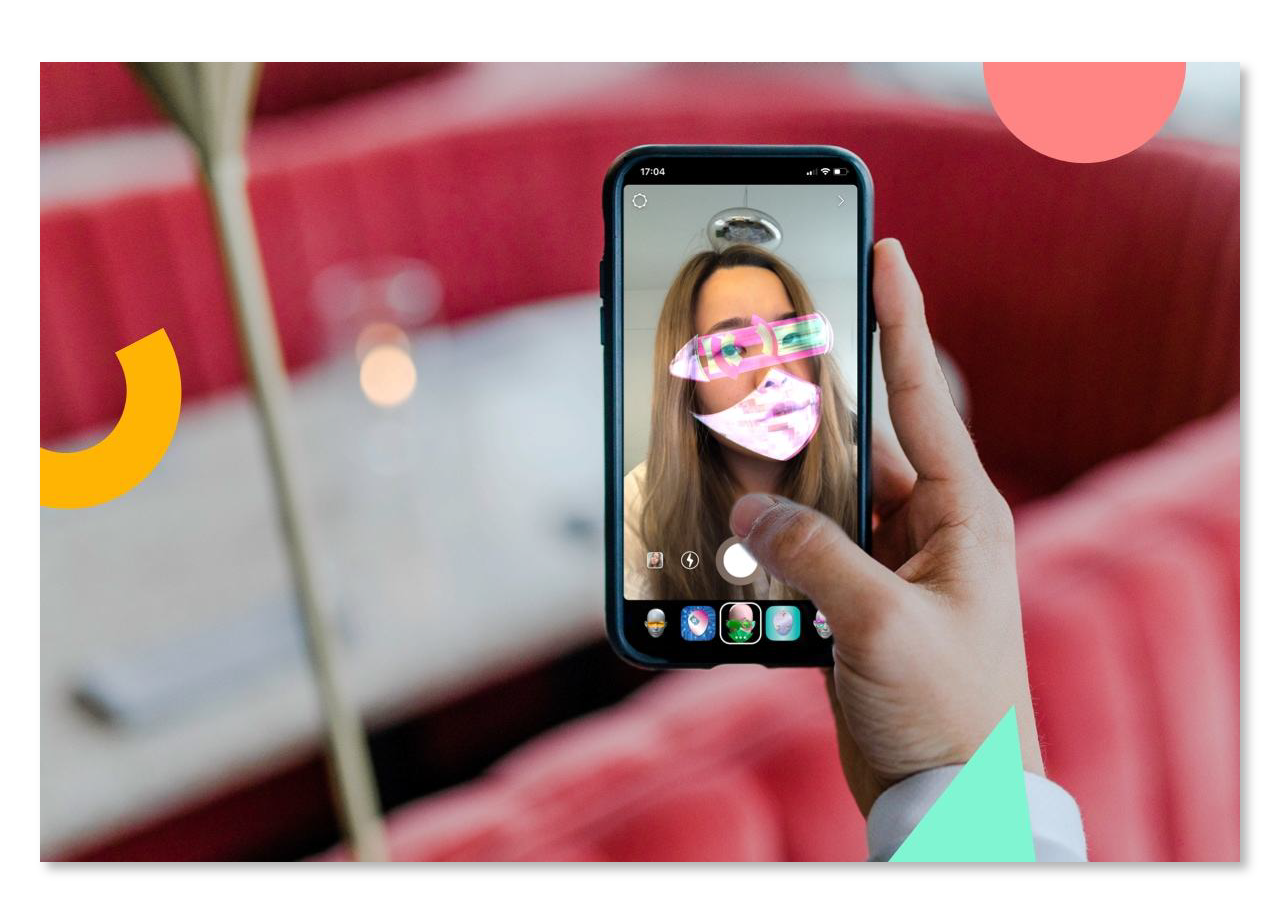
Testing your Instagram filters is crucial to ensure they’re compatible with different screen resolutions and operating systems.
Instagram provides a tool called TestFlight to test your filters. TestFlight allows you to invite users to test your filters and provide feedback before you publish them.
Test your filters with Facebook’s Spark AR Hub
Facebook’s Spark AR Hub also provides a way to test filters on Instagram and Facebook. You can use these tools to ensure your filters work as expected and fix any issues.
After testing your filters and ensuring they work correctly, publishing them is time. To publish filters on Instagram, you must create a Spark AR Hub account and submit your filters for review.
The review process might take up to several days, and once your filters are approved, they’ll be available for anyone to use.
5. Promoting Instagram Filters
Promoting your Instagram filters is crucial to get them in front of as many people as possible to improve your chances of gaining more followers on the platform.
You can promote your filters in several ways, including:
- Creating a hashtag: Creating a unique hashtag for your filters can help people find them easily. Encourage your followers to use the hashtag when they share their stories or posts with your filters.
- Collaborating with other creators and influencers: Collaborating with others can help you reach a wider audience. For example, you can partner with them to create a filter that complements their content or brand.
- Creating tutorials: Creating tutorials on using your filters can help people understand how they work and encourage them to use them more often.
- Sharing on other social media platforms: Share your filters on other social media platforms, such as Twitter or TikTok, to reach a broader audience.
- Engaging with your audience: Engage with them by responding to their comments and feedback. Encourage them to share their experiences with your filters and ask for their suggestions on how to improve them.
Conclusion
Creating Instagram filters is an exciting way to add creativity to your social media presence and facilitate business growth.
Following the steps outlined in this blog, you can design, test, publish, and promote your filters and share them with your followers. So try it and see what kind of filters you can develop.
Additionally, give a shot to SocialBu to take your social media management game to the next level and reach top-notch success in the social media world.
Start your free trial today and see all SocialBu has to offer.
FAQs
How do you get filters on Instagram 2024?
To get filters on Instagram in 2024 follow these easy steps:
- Open the camera on Instagram
- Swift left on the icons at the bottom of the screen
- Tap the magnifying glass icon to open the Browsers Effects page
- Scroll through the filters to apply the desired filter
How do I create an IG filter?
To create an IG filter, you can make use of Spark AR Studio , that will allow you to your own interactive AR filters.
Do most people on instagram use filters?
Instagram filters are great for enhancing your pictures by adding extra flavor according to your mood. Not to mention, as per Meta more than 600 million people use filters on Instagram or Facebook.
What’s the most popular filter on Instagram?
The most popular filter on Instagram is Clarendon. Some of the most popular Instagram filters includes Clarendon, Gingham, Juno, and Lark.
