Private Facebook groups can be a great way to build and connect with a community online. This blog post will discuss creating your own private Facebook group for your community.
Steps to Create a Private Facebook Group
- Go to the Facebook Groups page.
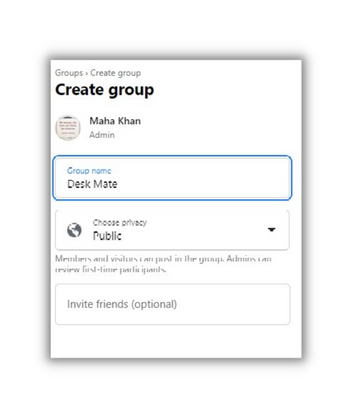
- Click on “Create Group.”
- Choose your group’s name and privacy setting (select “Private” as the setting).
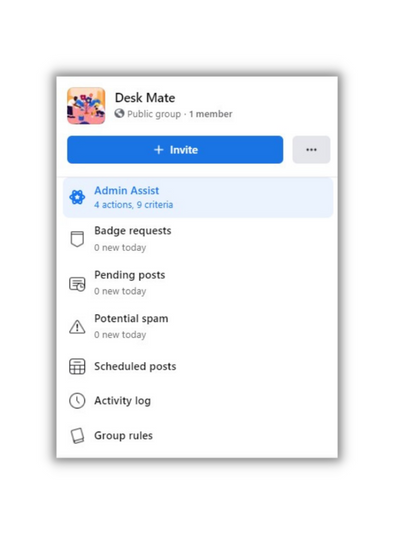
- Add members and invite others to join.
- Customize the group’s settings and settings (e.g., group description, group rules, etc.)
- Start engaging with your group members by posting updates, hosting discussions, and sharing relevant content.
Tips For Setting a New Group
- When making a new private Facebook group, choose the name carefully. It should be according to the group’s purpose so that your group pops up before relevant people search for it.
- Next, set a cover photo of your Facebook group. It should be self-explanatory and must align with the purpose of your group. For example, the cover photo should include the tag or logo if you are a business or company.
- The description of the group should explain well the goal of this group. What will be the topic of discussion here, and some background story as well
- Set the group rules and clearly define the boundaries there. Then, make sure everyone agrees and follows them.
Use SocialBu to Schedule Group Posts
If you are a business or even someone with a lot on their sleeves, you can schedule all your private Facebook content with SocialBu and streamline your content. It is best to save time and plan, so no one misses any updates.
To schedule a group post with SocialBu:
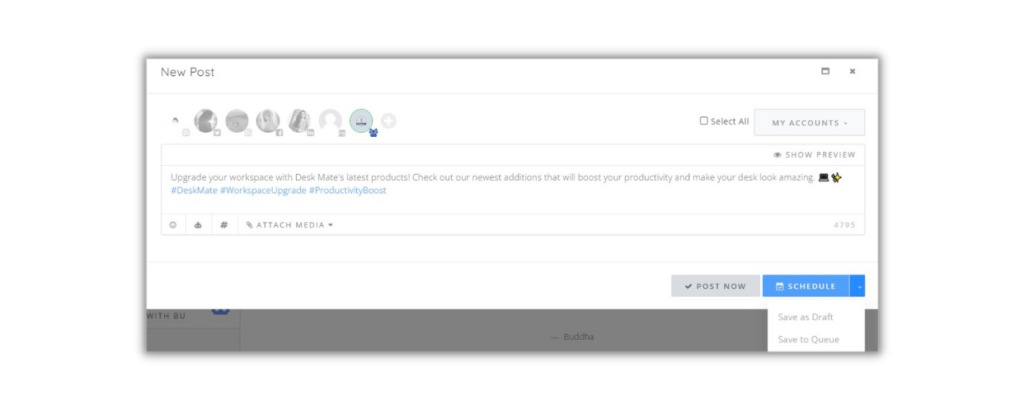
- Login to SocialBu account.
- Then click on “New Post.” A dialogue box will open then select your private Facebook group here.
- Create the post as you wish. For example, add hashtags, images, etc.
- Or, if you are feeling lazy, use the AI generator to create the post automatically.
- Once done, click on the Schedule and choose the date and time you want the post to go live.
Conclusion
Following these steps, you can create a private Facebook group to connect with your community. Remember to engage with your group members and continue to share relevant content to keep the group active and growing. A private Facebook group can be a valuable tool for any community looking to connect and engage with its members in a more intimate and controlled environment.