Have you ever looked at a raw photo and wondered, “How do I make this pop?” You’re not alone! Even if you’re a seasoned pro or a photography newbie, understanding the photo editing workflow is the key to transforming simple shots into stunning images.
A smooth workflow means careful organization, smart selection, and efficient editing that aligns with your unique style and creative vision. By streamlining your process, you’ll save time, stay consistent, and make room for the fun, creative aspects of editing while leaving the technical tasks behind.
In this guide, we’ll walk you through each step and offer practical tips for turning your raw snapshots into polished works of art.
Keep reading to find out more!
Step-by-Step Guide to Mastering Your Photo Editing Workflow
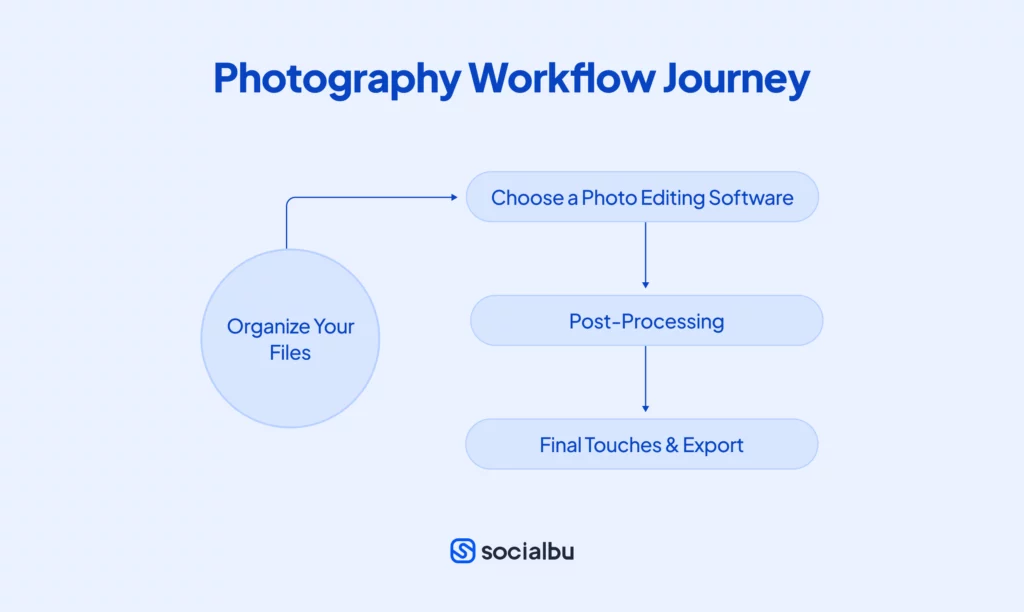
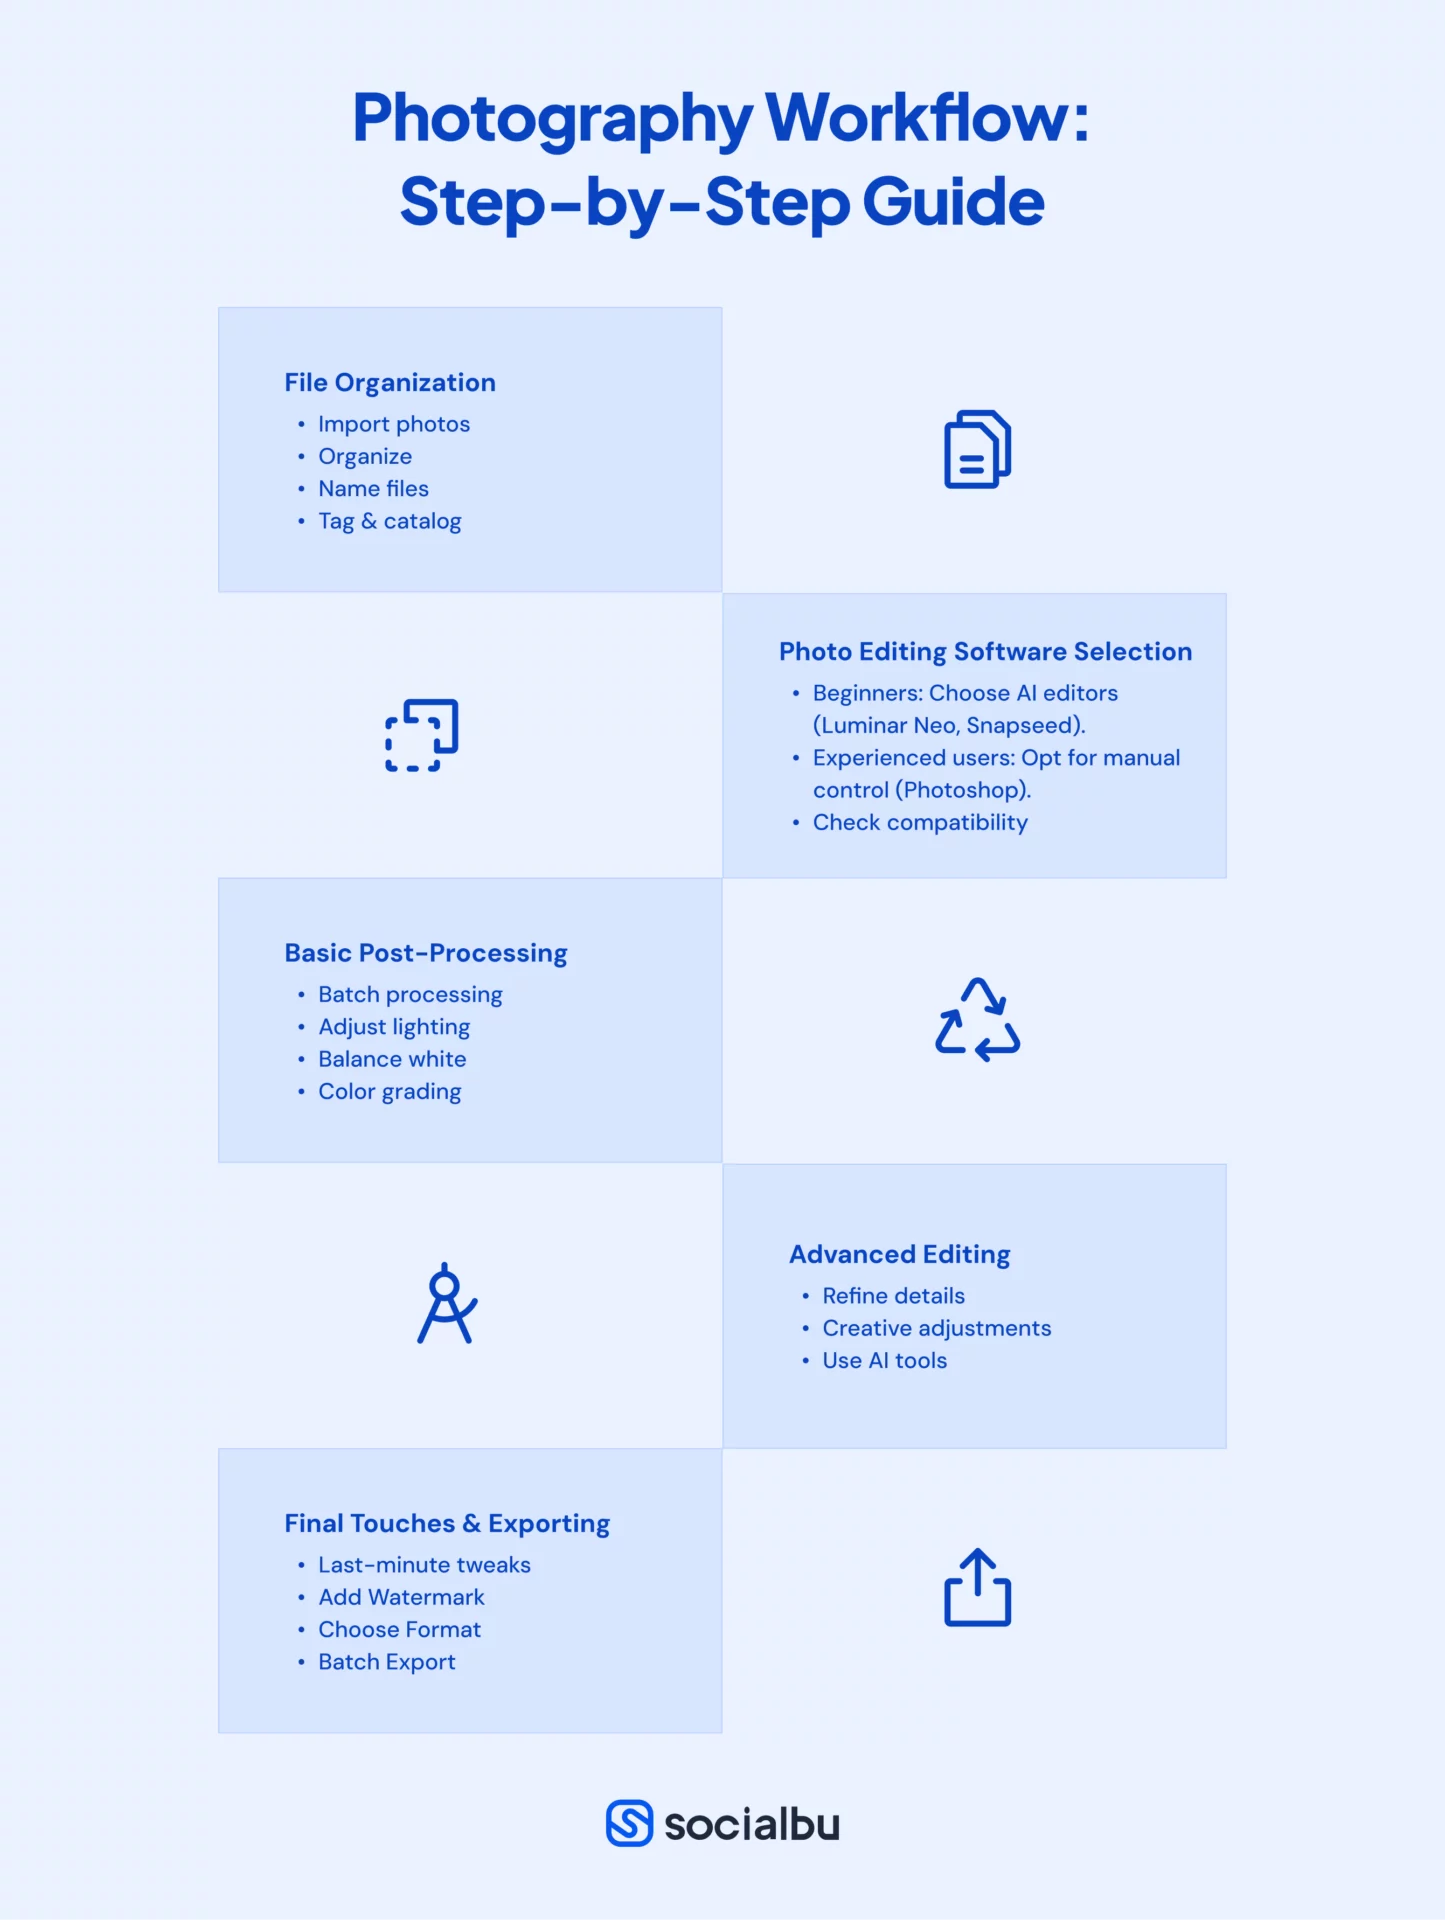
In the following steps, we’ll break down the key stages of the photo editing workflow, from organizing your files to exporting the final image. Each step is designed to help you streamline your process, save time, and elevate your photos to their full potential.

1. Organize Your Files
Organizing your files is a crucial first step in any photo editing workflow. Begin by importing photos from your camera to a dedicated folder on your computer. Create subfolders based on the shoot’s date, location, or theme—this simple step can save you valuable time when searching for files, especially with larger projects.

Naming your files with clear, meaningful titles is also essential, as scrolling through hundreds of unnamed files can slow productivity. Photo editors like Adobe Lightroom or Luminar Neo offer tagging and cataloging tools, making it easier to manage customizable libraries for seamless access to specific images.
2. Choose the Right Photo Editing Software
Selecting the perfect editing tool is crucial in your photo editing workflow. Your choice depends on skill level, budget, creative goals, and device compatibility. Here’s how to find the best fit for your photography workflow:
Skill Level: Beginner or Experienced?
- For Beginners: If you’re just starting to learn camera settings, look for AI-powered tools with automatic adjustments and an easy learning curve, like Luminar Neo or Topaz Labs. Cost-effective and free options such as Fotor, PicsArt, Snapseed, PhotoFiltre, GIMP, and Darktable are great for quick adjustments. These tools are user-friendly and ideal for mastering the basics.
- For Experienced Users: Advanced photographers require software that offers manual precision and comprehensive toolsets. Premium editors like Adobe Photoshop provide sophisticated options such as HDR merging and selective color grading, making them reliable for editing photos for social media.
Aligning Software with Creative Goals
Portrait Photography: Tools with high-end retouching features like skin smoothing, blemish removal, and teeth whitening are essential for portrait photography.
Sports and Wildlife Photography: Look for a photo beauty editor offering advanced features like focus stacking, motion blur reduction, and selective sharpening to handle fast-moving subjects effectively.
Device Compatibility and Performance
Your chosen software must be compatible with your PC, tablet, or smartphone. Ensure your operating system supports the application, there’s adequate storage, and your hardware can handle complex tasks. For instance, older computers may struggle with AI-powered photo editors, leading to performance lags.
3. Import Photos and Apply Basic Adjustments
Upload your files into your chosen software as the first step in your photo editing workflow. Utilize batch processing tools and customizable presets, if available, to save time and ensure a consistent, cohesive look across your visuals.
Even if your camera settings were correctly adjusted to match lighting conditions, post-processing is crucial for fixing minor imperfections and balancing shadows and highlights.

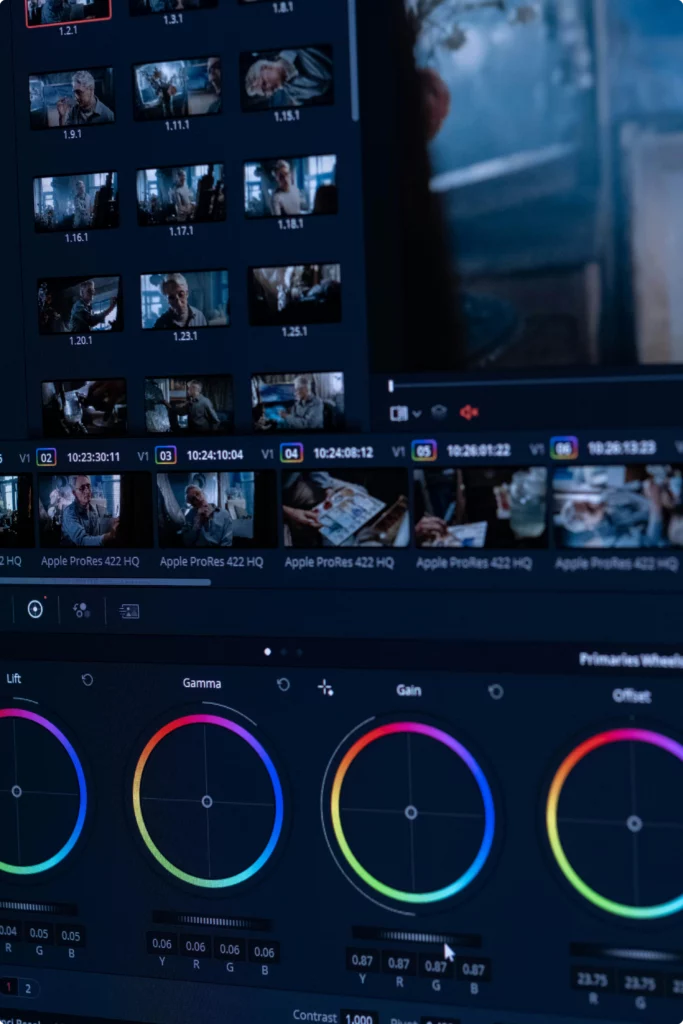
Start by tweaking the exposure slider to ensure your image is neither too dark nor too bright. Adjust brightness and contrast for clarity, and experiment with white balance to maintain natural lighting or introduce a warmer or cooler tint to define the image’s mood and feel. Don’t forget to apply color grading to enhance hues, saturation, and luminance, especially when doing narrative photography.
4. Refine Details with Advanced Post-Processing
Once basic adjustments are complete, move to advanced techniques to refine details and add creative touches. Methods like dodging and burning, selective sharpening, HDR, and local adjustments can significantly elevate your images. Features such as relighting and focus stacking improve the overall appeal, guiding the viewer’s attention to the most critical elements.
If your software includes artificial intelligence capabilities, use tools like sky replacement or object cloning to perform complex edits easily. These advanced features streamline the social media photography workflow and help you achieve professional-quality results effortlessly.
5. Review and Refine Your Photos
Review your pictures for any last-minute tweaks in the final stage of your photo editing workflow. Sharpen specific details, ensure colors are accurately represented, and consider adding a watermark for branding. Make sure your photos look polished and professional, whether viewed online or in print.
6. Export with the Right Settings

Choosing the correct file format and settings is crucial for maintaining quality. Most photo editors offer multiple options during export, and the choice depends on your intended use:
- JPEG files are ideal for web use due to their smaller, compressed size, ensuring fast loading.
- TIFF and RAW formats: Best for high-quality prints, thanks to their superior resolution.
If you’re working with multiple files, leverage batch processing to save time while maintaining consistency in your photography workflow.

Final Shot!
Editing photos is like telling a story—each step, from capturing the shot to adding the final touches, brings your vision to life. A smooth photo editing workflow helps you create amazing images faster, making them ready to wow your audience.

Now that you know how to perfect your photography workflow, it’s time to share your masterpieces with the world! Try SocialBu, a handy tool to schedule and share your photos on social media easily.
Let your creativity take center stage and turn every post into a showstopper!


