Almost everyone agrees that Facebook is one of the most essential mediums for businesses to use for marketing in the modern tech era. If you have a website, getting your Facebook audience and converting them into your Website traffic is now easier than ever, all thanks to Facebook Meta Tags.
Never heard of them? Well, no worries! This article will discuss everything you need to know about them and how to set them up easily in 9 simple steps.
If you follow these nine steps to build your Facebook meta tags correctly, you will make it more likely that people will share content from your website on Facebook and that it will show up in search engine results.

1. Create A Facebook App Id

When you ask Facebook for an ad through Audience Network, your app will get a unique Facebook App ID. A special Facebook App ID is needed for any app that is used on Audience Network. If your app has Facebook Login or utilizes Facebook Analytics for Apps, you already have an App ID. It’s possible to start one if there isn’t one. To make a Facebook App ID, you need to do the following:
- Use the arrow in the upper right corner of Facebook to move to the next page.
- If you scroll down the page, you’ll find the Settings button, which you can use.
- After you choose Apps and Websites, you will see a new option that says “Logged in with Facebook.”
- Simply tapping on an app’s icon will launch it.
- Clicking the “Learn more” link at the bottom of the page will let you get any extra information you might need. Find your user ID in the text that comes next.
2. Add Open Graph Meta Tags To Your Website’s Head Section

You may add meta information to your project using Meta Name and Meta Content, or you can validate your domain to utilize the Facebook Pixel in your advertising campaigns. Any of these are possible using Meta Editor.
- If you go to the project settings and choose “Manage Domains,” you will be taken to a screen where you can change the settings for the Meta tags.
- A menu will show up on the screen when the new screen loads. Choose “Meta Tags & Verification” from that menu.
- The user can submit ten different meta tags; each must have the right Meta Name and Content.
- Facebook also looks at the entire route for the subdomain. Make sure that one of the options for the domain is some kind of launch project.
3. Include The Title, Description, And Image Tags
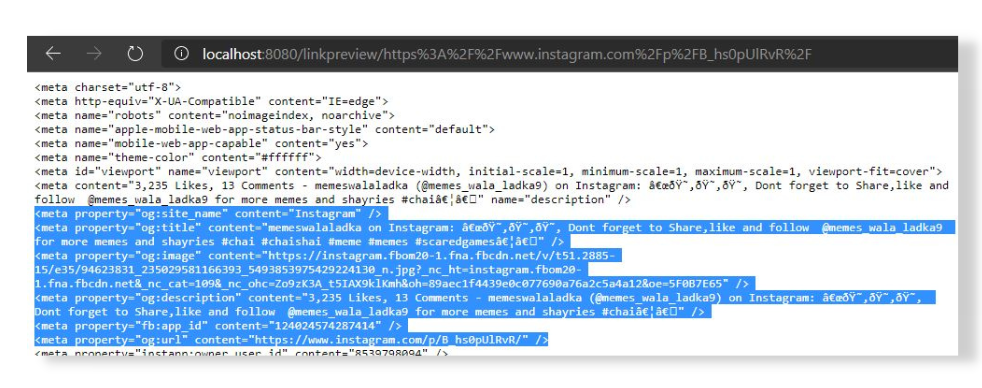
The title meta tag is a piece of code that search engines use to figure out what your website is about. The title meta tag is located in the head portion of your site’s code. Because the title of each website needs to have its meta tag, you can’t just copy and paste labels from other websites and say you wrote them.
When making content for the web, it is very important to add a description meta tag. Using this tag, briefly describe your content, including its main topic and what the reader will get out of it. You can also use this space to add keywords, which helps your search engine optimization (SEO). At this point, the meta description element must be in your code.
Add a meta tag to your website that lists the name of the image, its size, and the date of the last update. Also, there needs to be a link that users can use to get back to the main image.
4. Use The Correct Image Size For The Best Results
When using a meta picture, it’s best for the image to have a resolution of 1200 by 627 pixels and an aspect ratio of 1.91 to 1. Even though it will be quite big at this quality, your thumbnail will be much bigger than 5 MB. Overall keeping the right Facebook post dimensions in mind while posting is super important.
5. Add The Url Tag To Specify The Link For The Shared Content
It is recommended to include the URL element in the meta tags so that the URL of the shared content can be seen. If you follow this suggestion, you can do this. For example, when making content for a website, you can use a URL tag in the meta tags to show the link to a piece of shared content.
All you have to do to link to the information is add the URL tag to the meta tags. Adding “href=” to the beginning of the URL will let other people use the link. For example, just putting the text “href= “http://www.example.com” in your website’s meta tags will let people use the URL http://www.example.com to get to your site.
6. Utilise The “Article” Tag For Blog Post Content

Search engines look at an article’s meta tags to figure out what it’s about. There is an article meta element in both the article’s HTML and the source code versions. You can find the article meta element in the code that makes up an HTML page. Meta tags can also provide extra information, such as the article’s author or publication date.
As a blog post is being written, what is called an “article tag” will be put in front of each section as it is written. You should use the “article” tag if your blog post is longer than a few sentences. This is the best way to do it. Using this tag is strongly suggested. This is optional for shorter blog posts but strongly recommended for longer ones.
7. Use The “Video” Tag For Video Content
If you put the video tag in your content, people who want to watch your videos can find and play them by clicking on your links.
If you want to share a video, you need the “video” element, but if you’re going to share a link to a video, you need the meta tags.
When you use the “video” tag, you can choose which of your Facebook pages the video will be sent to. Adding the title is a good idea for this additional reason. Because of this, you’ll have more say over where your work is published.
8. Test Your Meta Tags Using Facebook’s Sharing Debugger
You may contact individuals from your past and present and share aspects of your life when you join a social networking site like Facebook. People will see your work in proportion to how broadly it is distributed. The Facebook Debugger is a tool that will tell you how effective your meta tags are. Quickly and easily inspect your meta tags using this handy software.
Use Facebook’s Sharing Debugger to verify the accuracy of your meta tags. The Facebook Sharing Debugger will help you identify any errors in your meta tags that may prevent your material from being shared on Facebook. You’ll find this function in your Facebook profile’s “Tools” section. Select “Share Debugger” from the menu after that.
9. Regularly Update And Monitor Your Meta Tags For Optimal Results
Meta tags allow you to provide information to search engines about the content of your website. Because of this, search engines may look at your website to find the best pages that answer a user’s question. When website owners want to give more information about the pages on their sites, they usually add meta tags to those pages.
The most time and labor-efficient way to manage meta tags and ensure they still work on a website are to use a technology that was made just for that purpose. You can change how your meta tags rank in search engines and keep track of their progress here. You can also create brand-new meta tags.
Conclusion
You must use Facebook meta tags to get the most out of your website’s social media presence. If you strictly follow these nine steps and make sure they are done in the right order, you can be sure that your website is well-organized and has the best chance of being seen by the people you want to see it.
It’s important to remember that checking and changing your meta tags regularly can help you stay ahead of the competition in your industry. Many companies don’t use Facebook’s meta tags because they think that doing so would take too much time or work. However, they’re still worth using because they are surely beneficial.
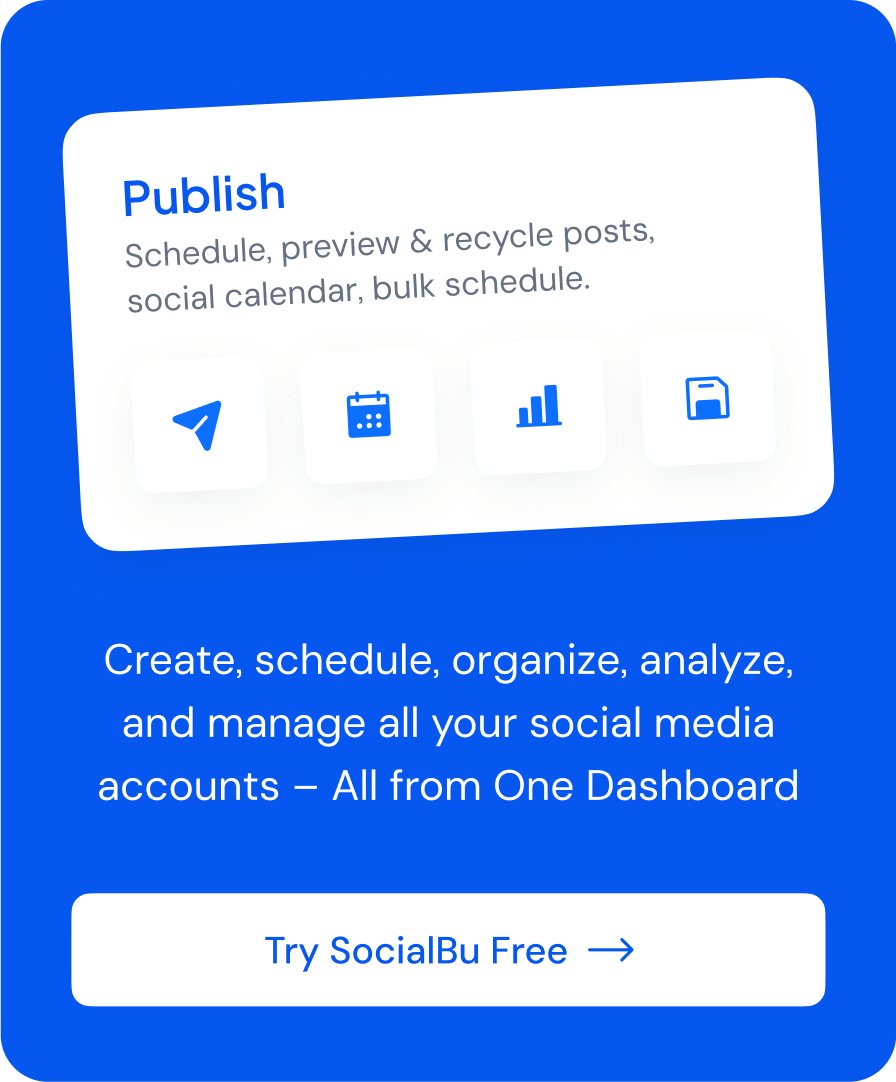
To make your Facebook game even stronger, you can utilize the help of awesome social media management features offered by SocialBu and watch your account reach the next high!
Start your free trial today to test the tool yourself!